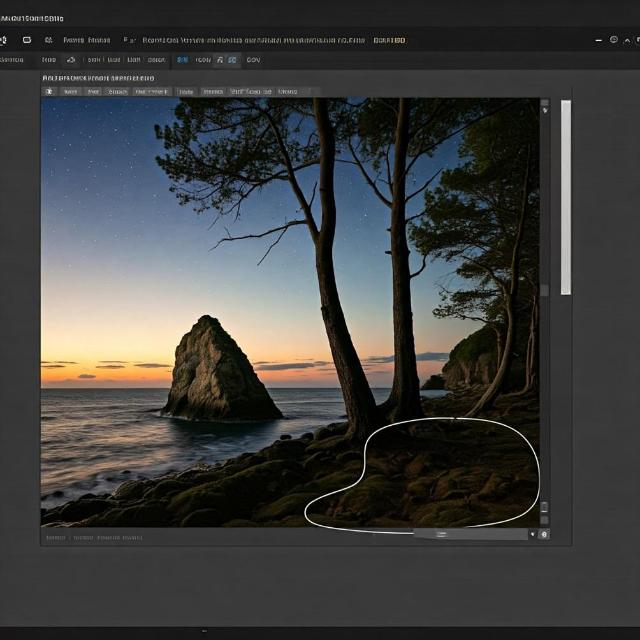
How to Photoshop Someone Out of a Picture Without Leaving a Trace
Those awkward moments when someone messes up a perfect group photo! Or worse, when your ex shows up in last year's vacation pictures. Or maybe a random passerby photobombed your shot in front of a landmark?
Let's learn how to "erase" someone from a photo without using a time machine. And by the way, if you ever need to recover deleted photos, check out Softorbits for some solid solutions. But now, back to our Photoshop business!
Preparing for Digital Magic
Much like an onion, Photoshop works with layers! First, start by duplicating the original layer (Ctrl+J for Windows users, Command+J for Mac users). This precaution will save you from headaches later and allow you to compare the "before" and "after" to assess your editing work.
Three Riders of Digital Apocalypse
Content-Aware Fill Tool - Your New Best Friend
Select the unwanted object as if outlining it with an invisible marker (Quick Selection Tool comes in handy), make the selection slightly wider - and boom! Hit Shift+Delete, choose Content-Aware, and Photoshop, like a skilled magician, pulls out the perfect background. Sometimes the result is so good it's almost unsettling.
Spot Healing Brush - The Microsurgeon
This little tool works wonders with minor imperfections. Just brush over areas like you're using a magic wand, and traces of previous presence vanish into thin air. It's particularly effective for handling small details - clothing folds, object edges, and stray shadows. Just don't get carried away with broad strokes.
Clone Stamp - The Classic Method
This one requires some effort! Hold Alt (Option for Mac), click on a "clean" area, then clone it to where you want to cover traces. Like a detective covering tracks! This tool demands a steady hand and keen eyes.

Pro Retoucher Tips
- Always work on a separate layer.
- Take a few shots without the "subject in question".
- Don’t forget the shadows – they are telltale signs.
- Use a soft brush with Clone Stamp.
- Zoom out from time to time to check your work.
- Utilize layer masks - they're more forgiving than your ex.
- Slightly blur the edges of the edited areas - sharp boundaries reveal retouching.
Final Touches
After completing the main work, refine your editing: blur harsh transitions and adjust textures. Adding slight noise or grain helps mask the editing and maintain natural photo appearance. Remember: simpler backgrounds mean fewer chances for mistakes. Patterned wallpapers will require extra effort!
Working with reflective surfaces deserves special attention. Removed someone but they're still waving in a window reflection? You'll need to carefully process all revealing reflections.
P.S. Please make sure to save the original! And create intermediate saves - you never know when your computer might decide to spice up your day.

